
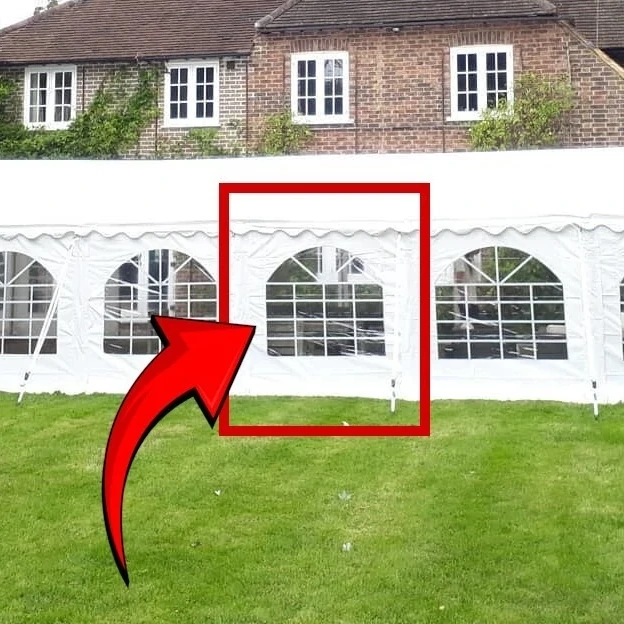
When setting up a marquee for an event, flexibility, weatherproofing, and ease of assembly are crucial. One of the standout features of our DIY Marquees design is the total modular flexibility of our side panels and end walls.
Whether you’re customising entry points for a wedding, securing the structure against rain, or setting up on a windy day, here is a complete guide to how our side panels work and how they attach to the frame.
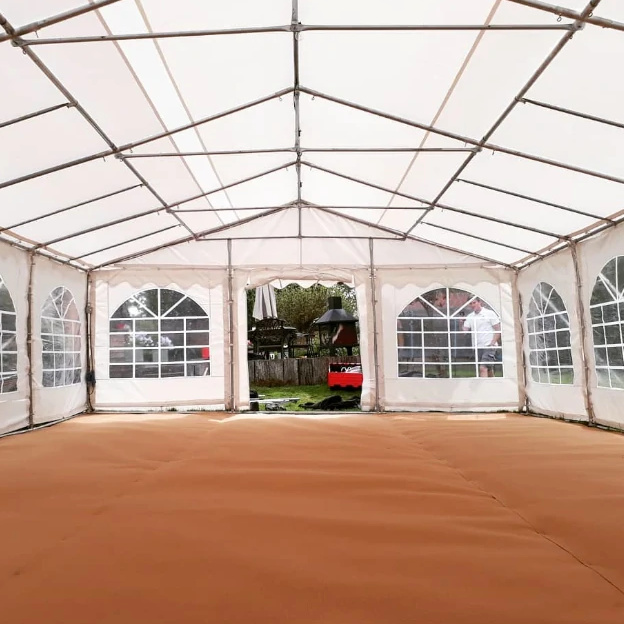
1. Fully Interchangeable 2m Sections
All of our commercial/professional side panels are manufactured in standardized 2m x 2m sections. Because the sections are modular, you have complete freedom over where each panel is positioned around your marquee frame.
You can mix and match:
- Window Panels (2m wide): Ideal for letting in natural light and providing guests with views of the surrounding grounds.
- Plain Wall Panels: Great for privacy, creating backdrop areas, or hiding catering/storage sections.
- Zipped Wall Panels: Feature two heavy-duty zips (one on each side) so the panel can double up as a door. Simply unzip, roll the wall up, and tie it off at the top for open, effortless access.
2. Built-In Weather Protection
- 20cm Rain Skirt: Every panel features a heavy-duty 20cm rain skirt at the bottom. This extends onto the ground so rainwater flows cleanly away from the interior of the marquee rather than pooling at the base.
- Leg Covers for Draft Exclusion: To join adjacent panels together seamlessly, we use continuous Velcro leg covers. These strips seal around each vertical pole, bonding to the edges of both adjoining panels. This eliminates gaps, seals out wind, and prevents cold drafts from entering the marquee.
3. How Side Panels Attach (Standard Bungees)
Attaching standard side panels to the steel frame is quick and straight forward using 16cm bungee loops fitted with plastic toggles:
- Feed the Bungee: Push the elastic loop through the metal eyelet along the edge of the panel.
- Wrap around the Frame: Pass the loop around the structural marquee pole.
- Secure the Toggle: Hook the elastic loop back over the plastic toggle to hold the panel securely in place.
4. Attaching End Panels & Gable Sections (Shorter Bungees)
When attaching end panels, stability and neatness are essential around the roofline and gable ends:
- Shorter 8cm Bungees: End panels utilize shorter 8cm bungee loops rather than the standard 16cm bungees.
- RF-Welded Eyelet Strip: The loop passes through the side panel eyelet and then through a reinforced eyelet strip that is RF (Radio Frequency) welded directly onto the gable triangle of the marquee canopy.
- Tighter Fit & Reduced Wear: Passing the bungee back onto its toggle creates a snug, taut fit. Because these shorter bungees maintain proper tension without sagging low, they suffer less sag over time and require replacing much less frequently than standard lengths.
Summary Checklist for Setup Day
- Standard Side Walls: Use 16cm bungees wrapped directly around the frame poles.
- Gable / End Walls: Use 8cm bungees secured through the RF-welded eyelet strip on the gable.
- Seal the Structure: Press all Velcro leg covers securely down the length of every pole to keep out wind and weather.