Building a solid wooden base is the best way to elevate a marquee event from a “backyard tent” to a premium venue. A proper floor doesn’t just look better; it provides a level surface for furniture, protects guests from damp ground, and ensures the marquee remains stable.
Here is the step-by-step guide to constructing a professional-grade marquee floor.

1. Preparing the Foundation
Before any wood touches the grass, you must create a moisture barrier. Lay down a non-breathable groundsheet or heavy-duty tarpaulin across the entire footprint.
- Why? This prevents ground moisture from rising, which stops the wood from rotting and prevents the marquee from becoming humid and “musty” inside.
2. Laying the Framework (Battens)
Lay out wooden battens across the site. These act as the skeleton of your floor.
- Spacing: Ensure the battens are spaced consistently so that the edges of your plywood sheets will meet directly over a batten for secure screwing.
- The “Overhang” Rule: It is much easier to build the floor 3–4 inches wider than the actual marquee footprint. This allows the marquee legs to sit firmly on the wooden base rather than sinking into the grass at the edges.
3. Leveling the Site
Unless you’re working on a professional tennis court, the ground will be uneven.
- Use a long spirit level across the battens.
- Where you find dips, “chock it up” using wooden packing blocks.
- Pro Tip: Take your time here. A floor that bounce or slopes will be noticeable the moment guests start dancing.
4. Installing the plywood
The industry standard for a high-quality finish is 18mm plywood sheets (typically 8ft x 4ft).
- Material: If the budget allows, use marine-grade plywood. It is specifically treated to handle moisture, meaning the boards won’t warp or delaminate if they get damp.
- Fixing: Screw the sheets directly into the battens. Ensure the screw heads are flush with or slightly below the wood surface to avoid tripping hazards.
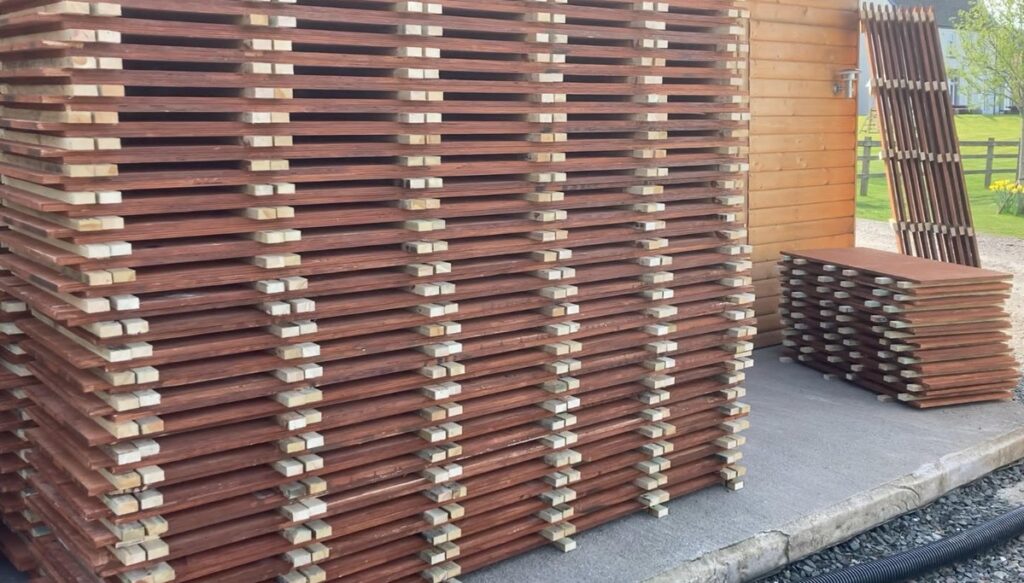
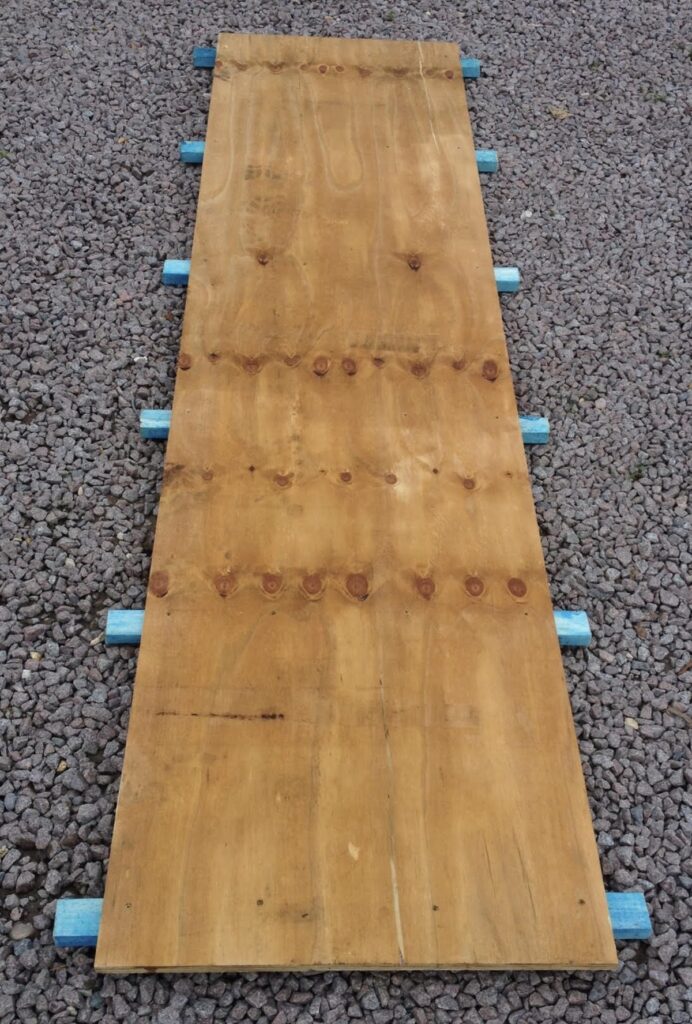
5. The Professional “Interlocking” Method
If you plan on moving or reusing the floor frequently, follow the lead of professional hire companies:
- Downsize: Cut the sheets into 8ft x 2ft sections.
- Pre-fabricate: Screw the battens directly to these smaller boards in an offset pattern.
- Benefit: This creates an interlocking system that is much easier to transport in a van and faster to slot together on-site.
Finishing Touches
Once the wood is down, you have two main options:
- Natural Wood: Leave the plywood exposed for a rustic, “lodge” feel (best with high-quality marine ply).
- Carpeted: Lay event carpet over the plywood for a luxury finish. This also hides the joins between the sheets.
Sheet Requirement Guide
Based on standard 8ft x 4ft (approx. 2.44m x 1.22m) plywood sheets.
| Marquee Size | Total Floor Area | Est. Number of Sheets | Layout Tip |
| 4m x 6m | 24m sq | 9 Sheets | 3 rows of 3 sheets. |
| 4m x 8m | 32m sq | 12 Sheets | 3 rows of 4 sheets. |
| 6m x 6m | 36m sq | 15 Sheets | 5 rows of 3 sheets. |
| 6m x 8m | 48m sq | 18 Sheets | 5 rows of 4 sheets (allows for a 10cm overhang). |
| 6m x 12m | 72m sq | 25 Sheets | 5 rows of 5 sheets. |